
How to Effectively Screenshot on Keyboard: The Modern Guide for 2025
Taking a screenshot is an invaluable skill in today’s digital world, allowing users to capture important information quickly and efficiently. Whether you’re using Windows, Mac, or a Chromebook, there are multiple screen capture methods to utilize keyboard shortcuts effectively. This article will delve into the various techniques to take a screenshot, reviewing the most handy screenshot tools and keyboard shortcuts to enhance your experience. So, let’s get started!
Screenshot Methods on Different Systems
Knowing how to utilize your device’s specific capabilities to capture screen images can save time and enhance productivity. Different operating systems offer various features and shortcuts for taking screenshots.
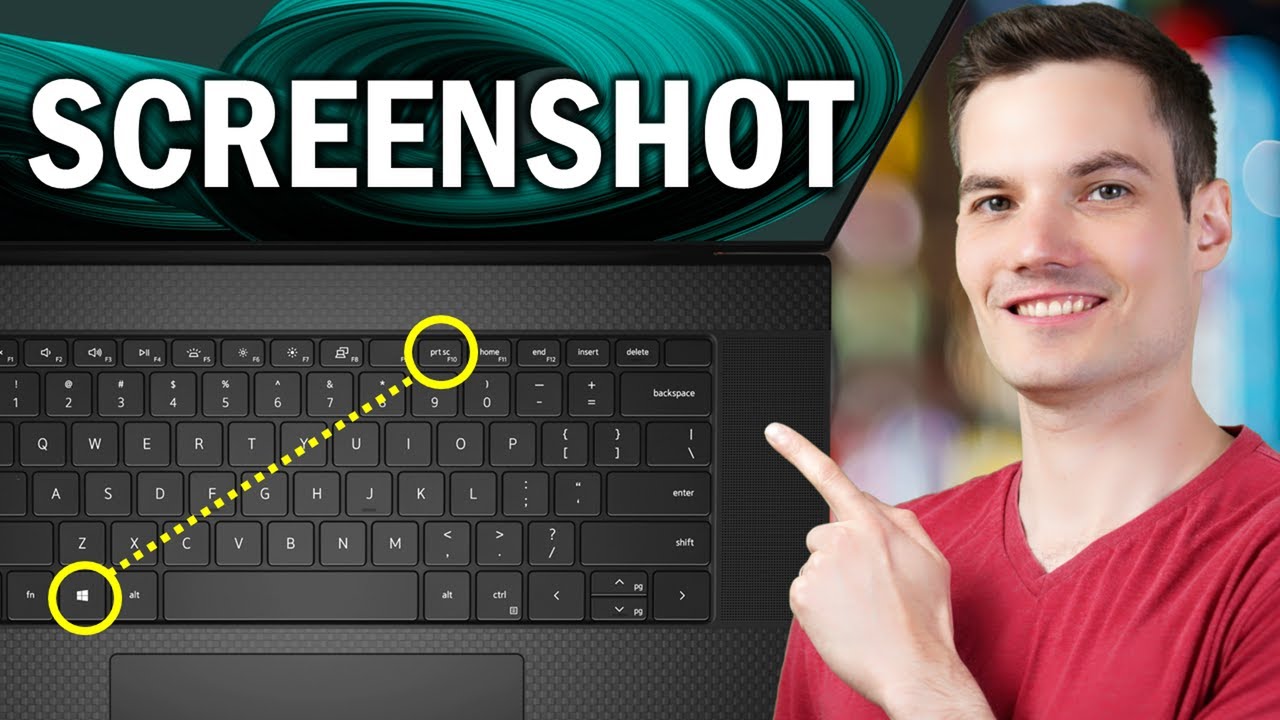
Screenshots on Windows
For Windows users, the most common screenshot keyboard shortcut is the Print Screen button. Pressing this button captures the entire screen and copies it to your clipboard. You can then paste it into applications like Paint or Word for editing. Alternatively, using Windows + Shift + S activates the Sniping Tool, allowing you to select a portion of the screen to capture. This method is particularly useful for taking screen grabs of specific areas.
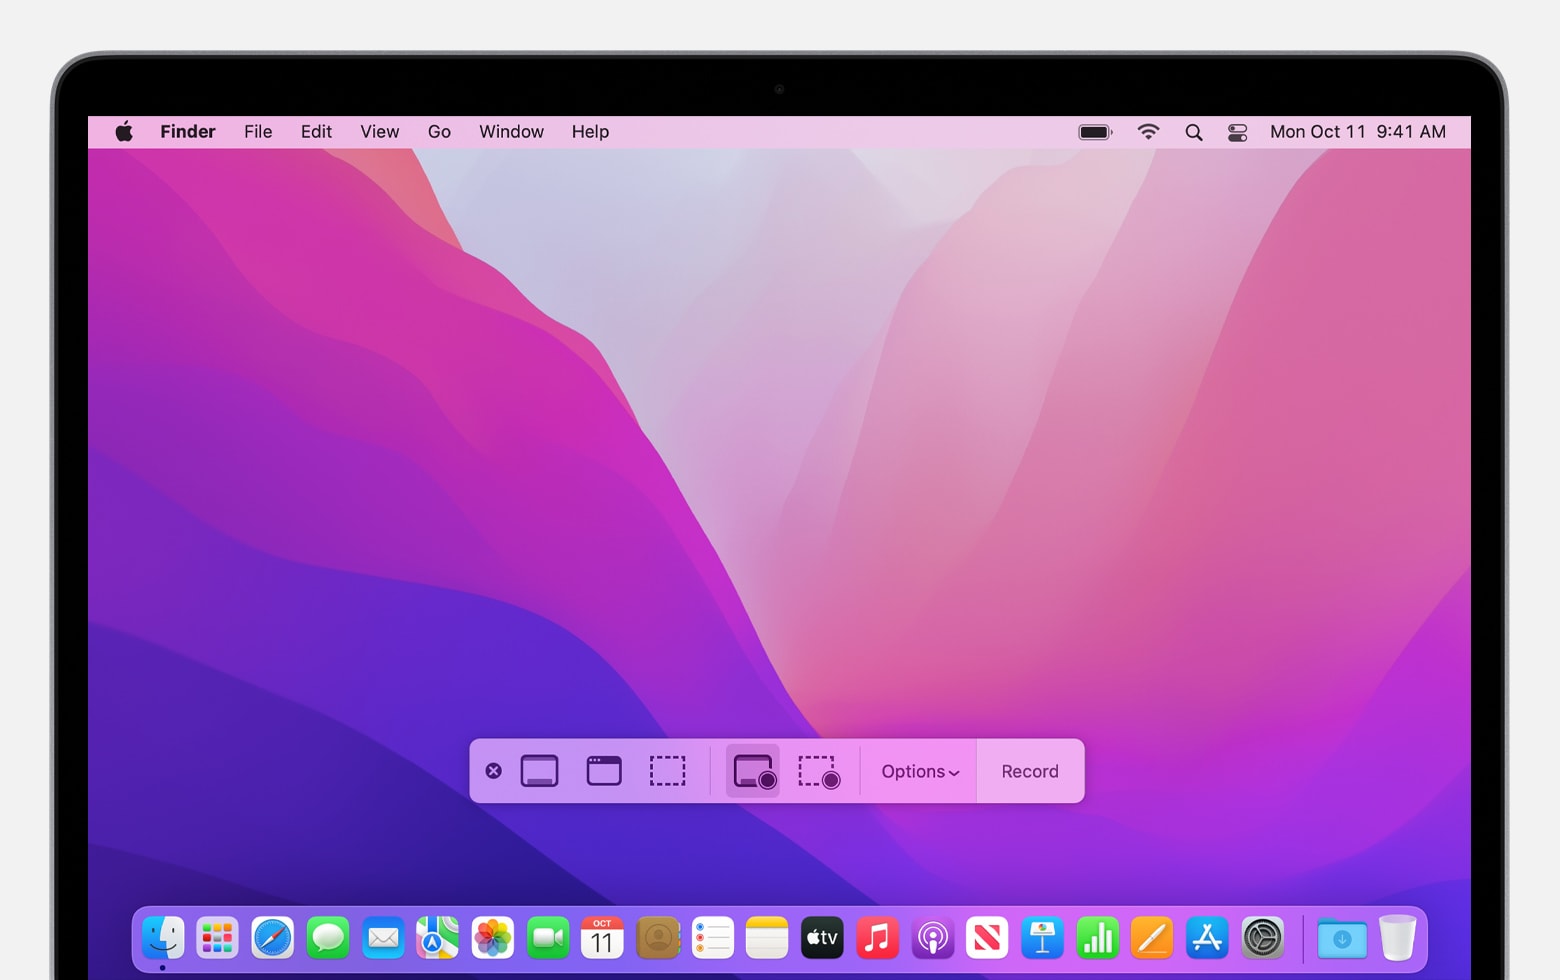
Screenshots on Mac
Mac users have their own specific keyboard shortcuts for screenshot functionalities. Using Command + Shift + 3 will take a picture of the whole screen> Conversely, Command + Shift + 4 lets you select a specific section. This flexibility with screenshots on Mac ensures personalized coverage of your needs.
Effective Screenshot Tools
In addition to built-in functionalities, various screenshot tools enable enhanced editing and organization of your images. Tools like Snip & Sketch or third-party screenshot apps provide extra features for an optimized experience.
Using Snip & Sketch on Windows
Snip & Sketch is an improved tool for capturing and editing screenshots on Windows. To access it, use the shortcut Windows + Shift + S. After taking a screenshot, it opens a toolbar for quick annotations or modifications, allowing you to personalize your screen capture effectively. With features like painting or cropping, this tool allows for thorough detail refinement.
Choosing the Right Screenshot Application
Using dedicated screenshot applications can streamline your overall screenshot workflow. Tools like Greenshot or Lightshot allow you to save, share, and edit screenshots quickly without leaving your workflow. These applications often offer customizable screenshot keyboard combinations, simplifying the process even further. Streaming sharing options integrated into these apps help document screenshots seamlessly during presentations.
Advanced Screenshot Techniques
To make the most out of your screenshot endeavors, a few advanced screenshot methods come in handy. Understanding how to personalize these actions can significantly improve your efficiency.
Using Keyboard Shortcuts for Efficiency
Mastering keyboard shortcuts for screenshots can lead to a more fluid work experience. For instance, on Mac, combining Command + Control + Shift + 4 allows you to copy the screenshot directly to your clipboard, ideal for quick pasting. On Windows, learning to execute Print Screen alternatives, like Alt + Print Screen to capture the active window only, empowers you to minimize distractions when capturing information.
Editing and Organizing Captures
After capturing images, managing and editing your screenshots becomes key for effective documentation. Utilizing built-in tools like Windows Paint, or software such as Adobe Photoshop can refine your images and better accommodate your documentation needs. Implementing ordering systems based on project or category can significantly enhance your efficiency with captured content.
Best Practices for Screenshots
Having a proficient approach to capturing and utilizing screenshots fosters greater productivity and communication across different fields, especially in collaborative assignments.
Optimizing Your Screenshot Workflow
To optimize your screen capture experience, personalize your screenshot keyboard settings according to your frequent needs. If certain captures occur more often than others, consider setting up shortcuts that correspond with these types. Furthermore, ensure your files are consistently tagged and organized. This action can facilitate more straightforward retrieval when documenting or referencing information later on.
Sharing and Using Screenshots in Documentation
When sharing crossed-platform, acknowledge the potential issues that can arise with screenshot compatibility. Ensuring your screenshots are in a widely used format, like PNG or JPG will enhance sharing and minimize discrepancies. Utilize visual documentation practices that highlight important points, improving your audience’s comprehension through effective visual sharing methods.
Key Takeaways
- Master essential screenshot keyboard shortcuts to enhance productivity.
- Use efficient screenshot tools for better editing and organization.
- Prioritize customizing your settings for personal effectiveness.
- Understand the various capabilities across different systems.
- Focus on proper documentation and sharing practices.
FAQ
1. What is the easiest way to take a screenshot on Windows?
The easiest way to take a screenshot on Windows is by pressing the Print Screen button. It captures the entire screen image, which you can then paste into a program for editing.
2. Can I take a screenshot on my Chromebook?
Yes, you can capture screens on a Chromebook by pressing Ctrl + Show Windows. The Show Windows key resembles a rectangle with two lines and will capture your entire screen.
3. How do I edit my screenshots effectively?
Editing screenshots can be achieved using built-in applications like Paint on Windows or Preview on Mac. Additionally, screenshot tools such as Snip & Sketch provide great editing capabilities.
4. Why should I use a screenshot tool?
Using a dedicated screenshot tool enhances your ability to edit, share, and organize images more efficiently than using basic operating system features.
5. How can I integrate screenshots into my workflow?
Integrating screenshots into your workflow involves categorizing and tagging them based on projects or subjects. This method allows for easy organization and quick retrieval when needed.
By understanding various screenshot techniques and tools available, you can enhance your productivity, resulting in more effective documentation and communication in 2025.