Create Labels in Word: Smart Ways to Do It
Creating labels in Word can be a straightforward task if approached with the right techniques and tools. Whether you’re looking to design **mailing labels in Word**, create barcode labels, or customize product labels, Microsoft Word offers a variety of features that can simplify the process for anyone engaged in label printing. This article highlights practical tips for 2025, ensuring your label-making process is efficient and professional, no matter your needs.
Utilizing Word Label Templates
One of the smartest ways to create labels in Word is by using **Word label templates**. These templates provide pre-made layouts that save time and ensure that your labels fit perfectly on your chosen **label stock**. Word offers a variety of templates tailored for different label sizes and formats, making it easier to design labels for products, shipping, and even personalized gifts. You can find these templates by navigating to File > New and searching for “labels”. Custom sizes are also available to fit specific projects or brands.
Finding the Right Template
To select the most suitable template for your needs, consider the type of labels you’re creating. For instance, if you’re designing **shipping labels**, look for templates that specify dimensions common to shipping providers. Similarly, **Avery label templates** are highly popular and can integrate seamlessly with Word’s label creation tools. Once you’ve picked a template, you can start customizing elements like text, size, and color alignment in Word to match your project requirements.
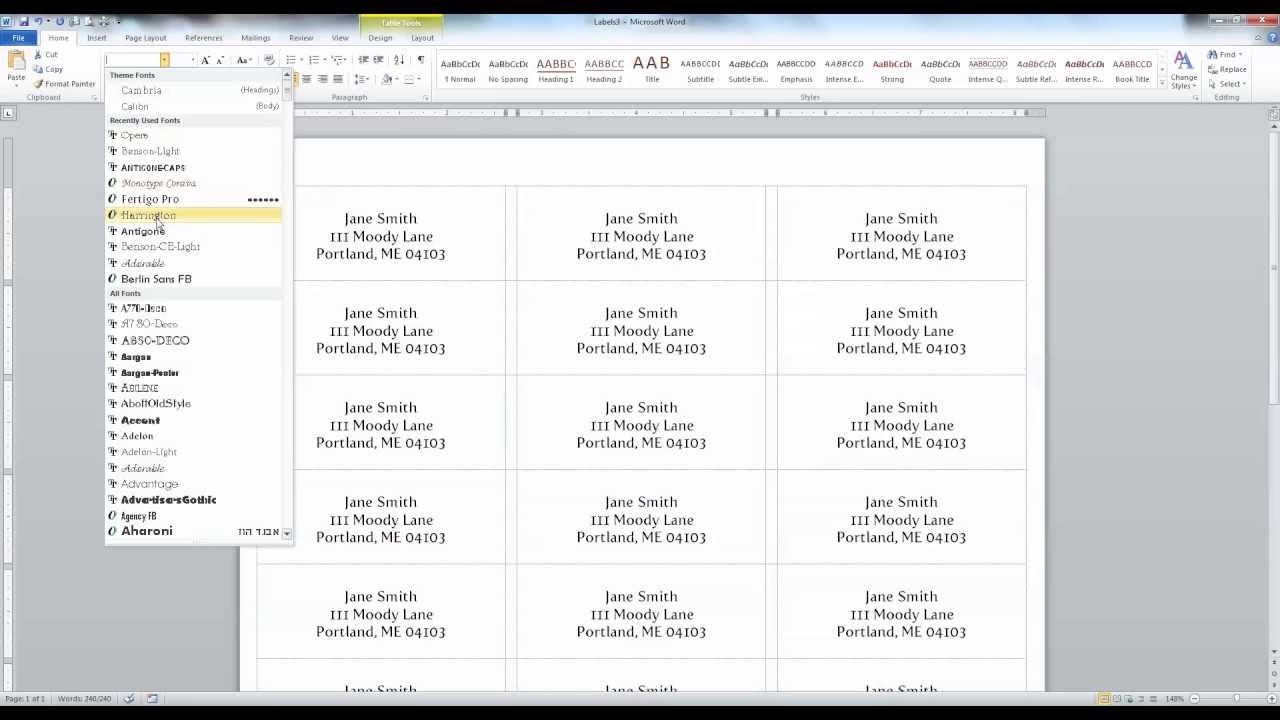
Customizing Your Labels Effectively
Label customization is crucial for ensuring that your labels convey the right message. Pay attention to font styles, colors, and images. You can insert images, logos, or even barcodes easily into your designed labels. By using the **Insert** option in the top menu, you can seamlessly add visual interest to **Word document labels**. Additionally, using features like **label alignment in Word** helps keep text and graphics well-organized, enhancing the overall professional appearance of your design.
Mastering Labels Printing Settings
Once you’ve designed your labels in Word, setting up **label printing settings** correctly is essential to ensure they come out as intended. Misalignment often leads to issues, particularly in label printing. Ensure your printer is compatible with the label stock you are using and that you select the appropriate settings based on your printer’s specifications. It is also suggested to run a test print before going for bulk to avoid wasting materials.
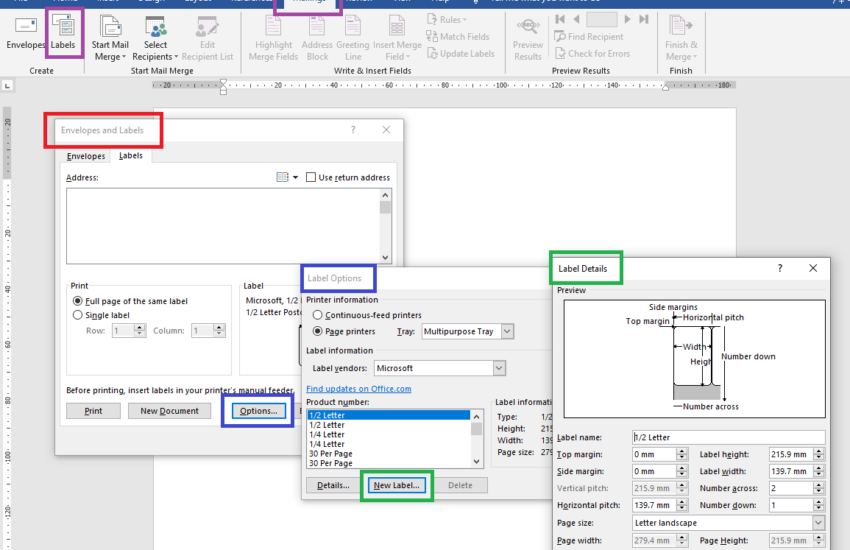
Setting Up for Perfect Alignment
For successful **label printing**, consider using the **Word label wizard**. This tool guides you through selecting the right type of labels and helps ensure that your printed design matches the layout of the labels on paper. It’s crucial to double-check the preview to confirm that everything is laid out correctly. Additionally, setting the right margins and advising your printer of the label size ensures that when you print, the labels align with the adhesive areas perfectly, preventing any print from being cut off.
Considerations for Multi-Label Sheets
If you’re using **multi-label sheets**, understanding how to *(print labels from Word)* without overlapping is essential. Use grid lines as a guide, and verify that the labels on your Word document match the grid on the actual paper. Many professionals recommend printing a blank sheet as a test run to align the labels precisely. This added step can save you both time and money during large print runs.
Designing Professional-Quality Labels
To create **professional label designs**, utilizing Word’s **label design tools** can dramatically enhance your output. The design phase should focus not only on aesthetics but on clarity and brand consistency, integrating guidelines such as color codes and logo placements. Each detail you include can impact how an audience interacts with your product. With an emphasis on high-quality design, your labels can attract more attention and improve the overall perception of your brand.
Incorporating Barcodes and QR Codes
Barcodes and QR codes have become essential in label design, particularly for businesses. By integrating these codes into **barcode labels in Word**, businesses can streamline inventory tracking or customer engagement through digital links. Utilize tools like the **Insert** function in Word to include these codes, making sure they comply with the necessary standards for readability. Proper placement is vital to ensure that the code does not clash with other critical information on the label.
Creating Labels for Different Uses
When it comes to **creating labels for folders or products**, understanding the specific requirements for your labels is key. For instance, you may need comparable dimensions for **product labels in Word** versus **create shipping labels**. By experimenting with different elements, like graphics and text size, you enhance legibility and attractiveness. Each label should convey clear information while aligning cohesively with your brand identity.
Tips for Quick Label Creation
For those with pressing deadlines, mastering **quick label creation** can contribute significantly to timely project completion. Familiarizing yourself with Microsoft Word’s **label formatting features** allows for rapid deployment without compromising quality. Features such as **mail merge for labels** enable you to customize each label with varying information efficiently. Additionally, software solutions tailored for label creation can also streamline this process using automated templates.
Best Practices for Label Sizing
Understanding the **best practices for label sizing** is crucial for effortless creation. Familiarize yourself with a **label size guide** to ensure you’re selecting proper dimensions suited to your labels. Measure exact dimensions necessary for design adequacy and ensure a coherent layout. It’s advisable to keep design elements well within established boundaries to maintain clarity on labels, particularly during printing.
Automating Design and Printing
To enhance efficiency, consider utilizing **label design software** when appropriate. Such software can often streamline workflow through features that automatically adjust configurations for printing, suggesting ideal alignments and sizes based on the parameters you give it. This can significantly cut down on the design time required when compared to manual input in Word.
Key Takeaways
- Utilize **Word label templates** for easy and effective label design.
- Ensure proper **label printing settings** for accurate and functional output.
- Incorporate QR codes and barcodes to enhance the usability of product labels.
- Establish best practices regarding **label sizing** and alignment for a professional finish.
- Consider third-party **label design software** for automation and efficiency.
FAQ
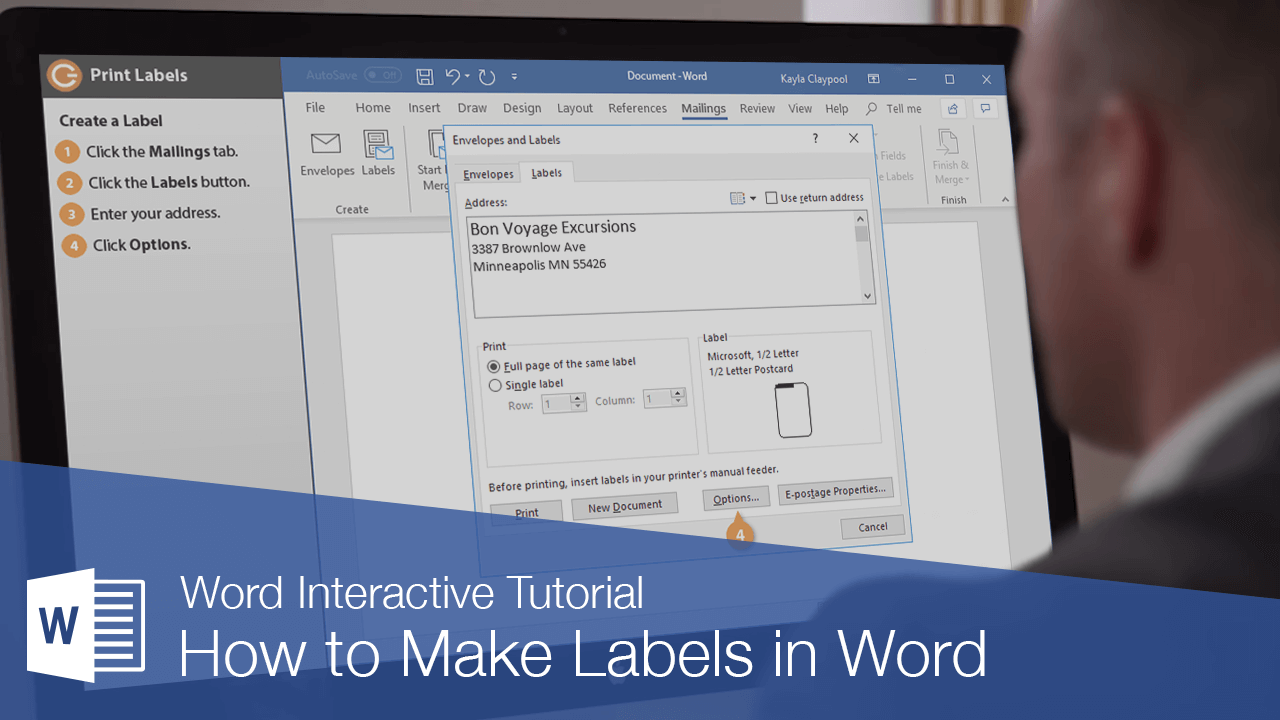
1. How do I create address labels in Word efficiently?
To create address labels efficiently in Word, navigate to the Mailings tab and select “Labels.” Enter your addresses in a Word document and employ the **Word mail merge** feature to simplify multi-recipient label creation. You can find custom templates that fit your specific mailing needs.
2. Can I design stickers using Microsoft Word?
Yes, you can create sticker labels in Word by selecting the appropriate **template for labels** that are compatible with sticker paper. Make sure to adjust your design settings to account for the adhesive backing, and use high-resolution images for the best quality results.
3. What are the steps to print labels from Word accurately?
Start by selecting the correct **label layout in Word** that matches your paper, then utilize **label alignment tools** to check your layout. After ensuring accuracy, perform a test print on a blank sheet to calibrate your printer’s settings before printing on your labels.
4. How do I incorporate images on my Word labels?
You can insert images on your labels in Word by going to the Insert tab, selecting “Pictures” or “Online Pictures,” and then positioning the image where desired within the label template. Ensure the image is sized appropriately to maintain clarity and aesthetics.
5. What should I consider for product label design?
Consider factors such as font readability, color schemes that align with your branding, and regulation compliance regarding information displayed. Professional label design best practices can greatly influence how potential customers perceive your products.
6. How do professional printing settings impact label quality?
Professional printing settings can significantly influence the clarity and durability of your labels. Adjust settings based on the label material used, and verify that the printer type (inkjet vs. laser) is compatible with your label stock for optimal results.
7. Are there online resources for quick label creation?
Yes, numerous online label creation tools and websites provide user-friendly interfaces for designing labels quickly. These solutions often come with intuitive drag-and-drop functionalities and pre-configured templates to expedite the process further.